Recipe
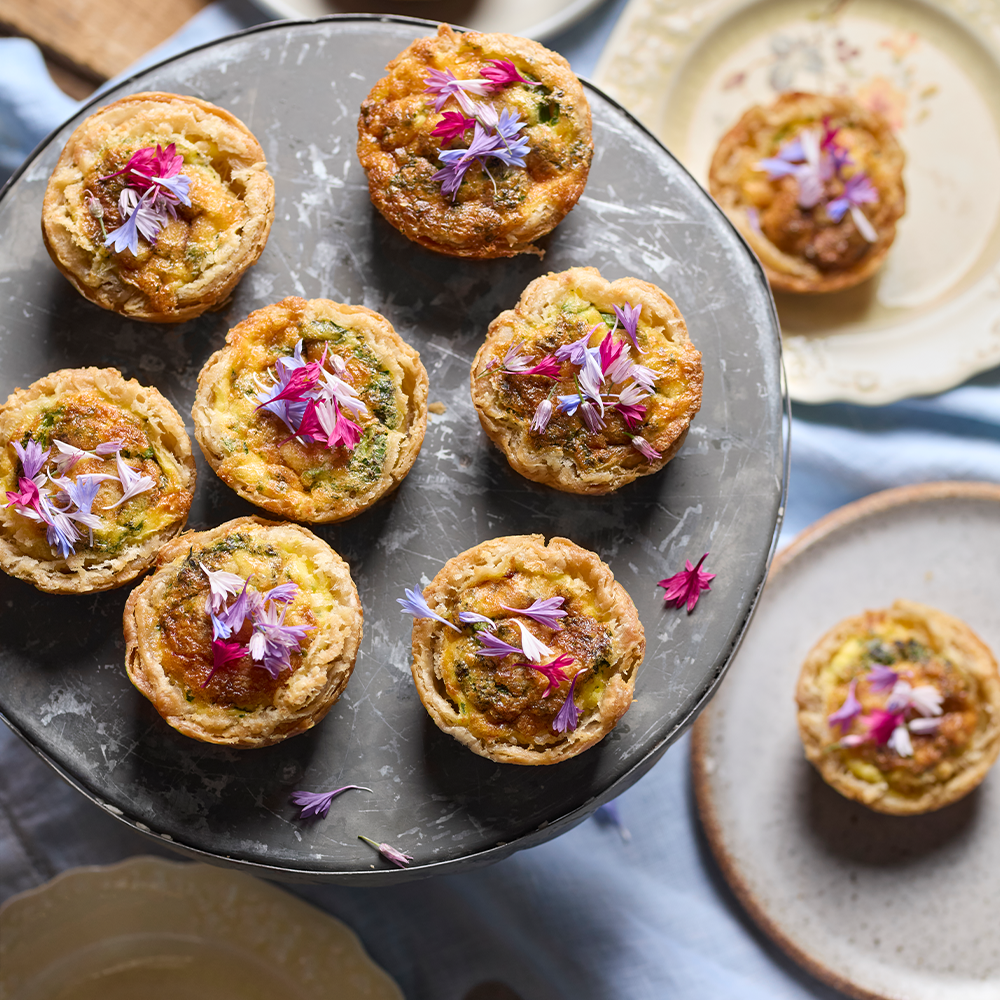
Asparagus Mini Quiches
Perfect for appetizers or lunchboxes, these quiches are baked in muffin tins and filled with tender asparagus, Gruyère, and fragrant spring garlic.

Recipe
Strawberry Rhubarb Pie with Ginger Crumb Topping
The recipe created by Anne Walker, co-founder of Bi-Rite Creamery, and made famous by Sam Mogannam on Martha Stewart back in 2012 is a classic for good reason.

Recipe
Strawberry, Pecan and Goat Cheese Galette with Rhubarb Compote
Sweet strawberries and tart rhubarb are a classic spring recipe combo, but the addition of creamy goat cheese and a toasted pecan crust adds a little bit of savory to mix things up.

Recipe
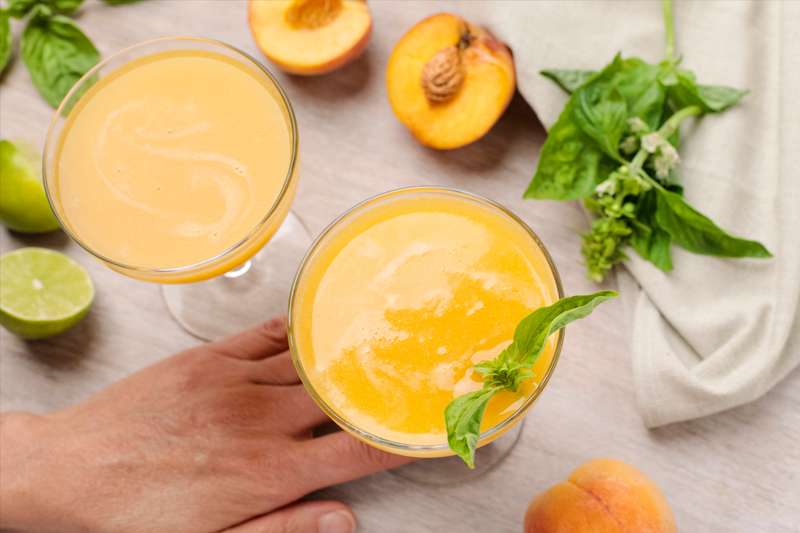
Gin and Berry Smash
A delightful fusion of gin's botanicals with the ripe, juicy flavors of seasonal berries. This cocktail is a testament to the joys of local sourcing and the beauty of blending sophisticated gin with the down-to-earth sweetness of summer berries.
Recipe
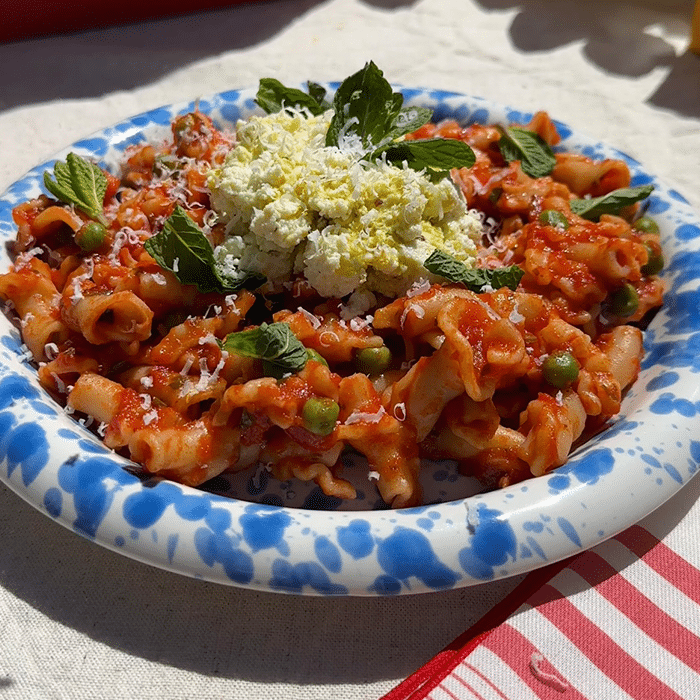
Lemony Ricotta Spring Pasta with Peas & Marinara
Bright lemon, sweet peas, and creamy ricotta meet rich marinara for a fresh, feel-good pasta that tastes like spring in every bite.

Recipe
Grilled Eggplant Dip with Tahini & Grilled Naan
Let's get grilling! Try out our Grilled Eggplant Dip with Tahini & Grilled Naan recipe.
Recipe
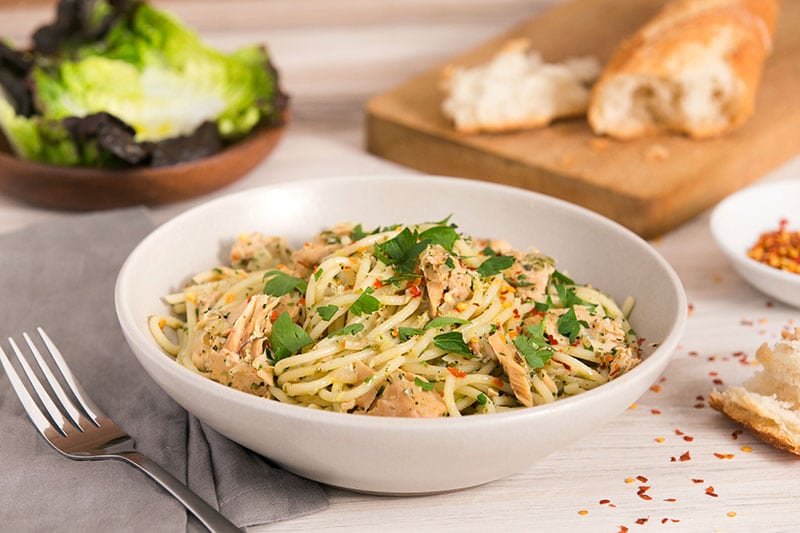
Spaghetti with Tuna, Capers, and Chile Flakes
The perfect dish made from basic pantry essentials, made on the fly when a grocery trip isn't an option.

Recipe
Grilled Chicken Salad with Creamy Cilantro Dressing & Charred Corn
It’s time to get your grill on! Why not start with our juicy Grilled Chicken Salad with Creamy Cilantro Dressing & Charred Corn recipe?

Recipe
Blackberry Peach Crisp
Savor late summer stone fruit with Alanna Taylor-Tobin's delicious, gluten-free crisp.